Published: 10 August 2024
PDF Accessibility
If there's one thing that will get Accessibility Specialists arguing amongst themselves, it is PDFs. There seems to be a PDF accessibility spectrum. At one end are those who condemn all PDFs as completely inaccessible, the spawn of the devil, never to be used again. At the other end are a group of accessibility people, who bombard my LinkedIn messaging system with offers to make every PDF in my organisation 100% accessible. They offer compliance with every law known to man and don't understand why I don't bite their hands off. I'm somewhere in the middle. We live in a world that includes PDFs so it makes sense to ensure that they are accessible to as many people as possible.
In this post, I want to share some tips to make your PDF as accessible as possible. To do this properly, you need Adobe Acrobat Pro(the paid for version). If you haven't got this, I would not really recommend creating PDFs but if you absolutely have to, at least follow the first two tips and that will be better than nothing.
Source document
You don't create a PDF in Adobe Acrobat. You create it in some other application - usually Word, PowerPoint, or possibly InDesign. A completed document from any of these sources can be converted or saved as PDF.
Why do you need to make it into a PDF? For most people, it's for one of two reasons:
- To prevent editing and potential changing of the information
- To enable anyone to open it, regardless of what device and office software they use.
The first thing you must do when creating a PDF is ensure that your source document is as accessible as possible. Any minor errors in your source document will be multiplied in your PDF.
I would recommend following all my Word or PowerPoint guidance in full, run an automated check, and if possible, check it with a screen reader before converting to PDF.
Conversion
Let's assume you've done all the accessibility work on your source document. It is free from errors and reads well with a screen reader. Next you need to follow the correct process for converting it to PDF.
Instructions for mouse users
- Click on File and Save as Adobe PDF.
- Click on Options.

- Check the box for
Enable Accessibility and Reflow with tagged Adobe PDF
. - Click OK.
- Continue to save in the usual way.
Instructions for keyboard navigators
- Press Alt followed by F to open the File menu.
- Press Y 3 to Save as Adobe PDF.
- Give your file a name.
- Press Tab 5 times to move to the Options button and press Enter.
- Press Tab until the
Enable Accessibility and Reflow with tagged Adobe PDF
checkbox is in focus. If it isn't already selected, press Space to select it. - Press Tab until the OK button is in focus and press Enter.
- Continue to save in the usual way.
Instructions for voice recognition software users
- Say, "Click File."
- Say, "Click save as Adobe PDF."
- Say, "Click options."
- Check whether the Enable Accessibility and Reflow with tagged Adobe PDF checkbox is checked. If it isn't, say, "Click enable accessibility." You shouldn't need to say the whole line.
- Say, "Click OK."
- Continue to save in the usual way.
Instructions for screen reader users
Here is the full audio for this process.
Audio transcript - PDF conversion
This will now be split to allow you to listen to each instruction individually. No separate transcripts are provided here as the previous transcript provided the instructions.
- Press Alt followed by F to open the File menu.
- Press Y 3 to Save as Adobe PDF.
- Give your file a name.
- Press Tab 5 times to move to the Options button and press Enter.
- Press Tab until the
Enable Accessibility and Reflow with tagged Adobe PDF
checkbox is in focus. If it isn't already selected, press Space to select it. - Press Tab until the OK button is in focus and press Enter.
- Continue to save in the usual way.
Tags

Once you have created your PDF, the most important thing to check is the tags. Tags are what assistive software use to read your PDF. It doesn't matter what is visible on the page, it is the tags that will be read out.
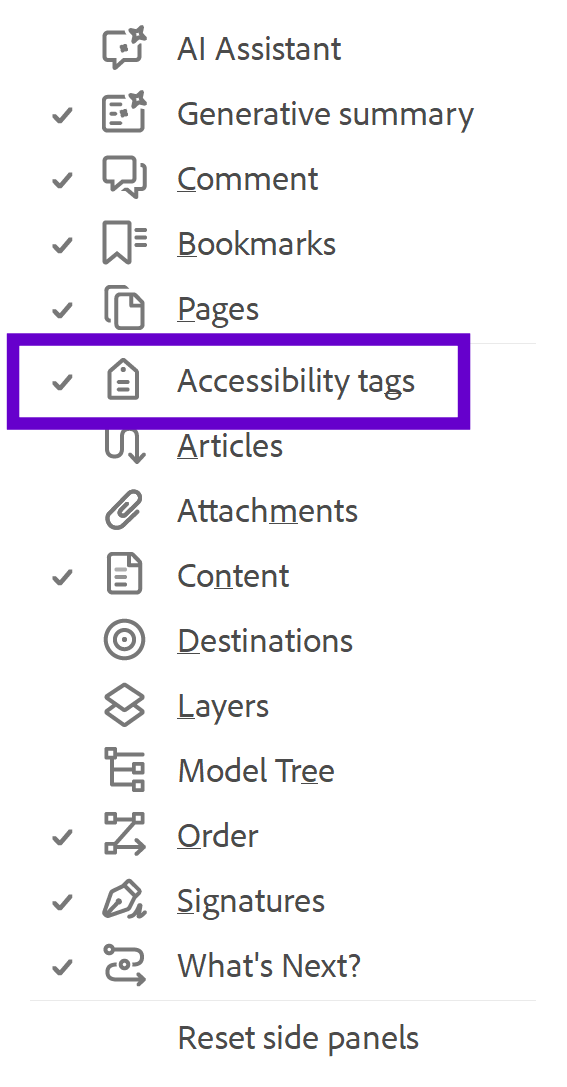
First of all, you need to check that you have tags turned on. In the older versions of Adobe Acrobat, this would be in the collapsed pane on the left. In the newer version, it's on the right.

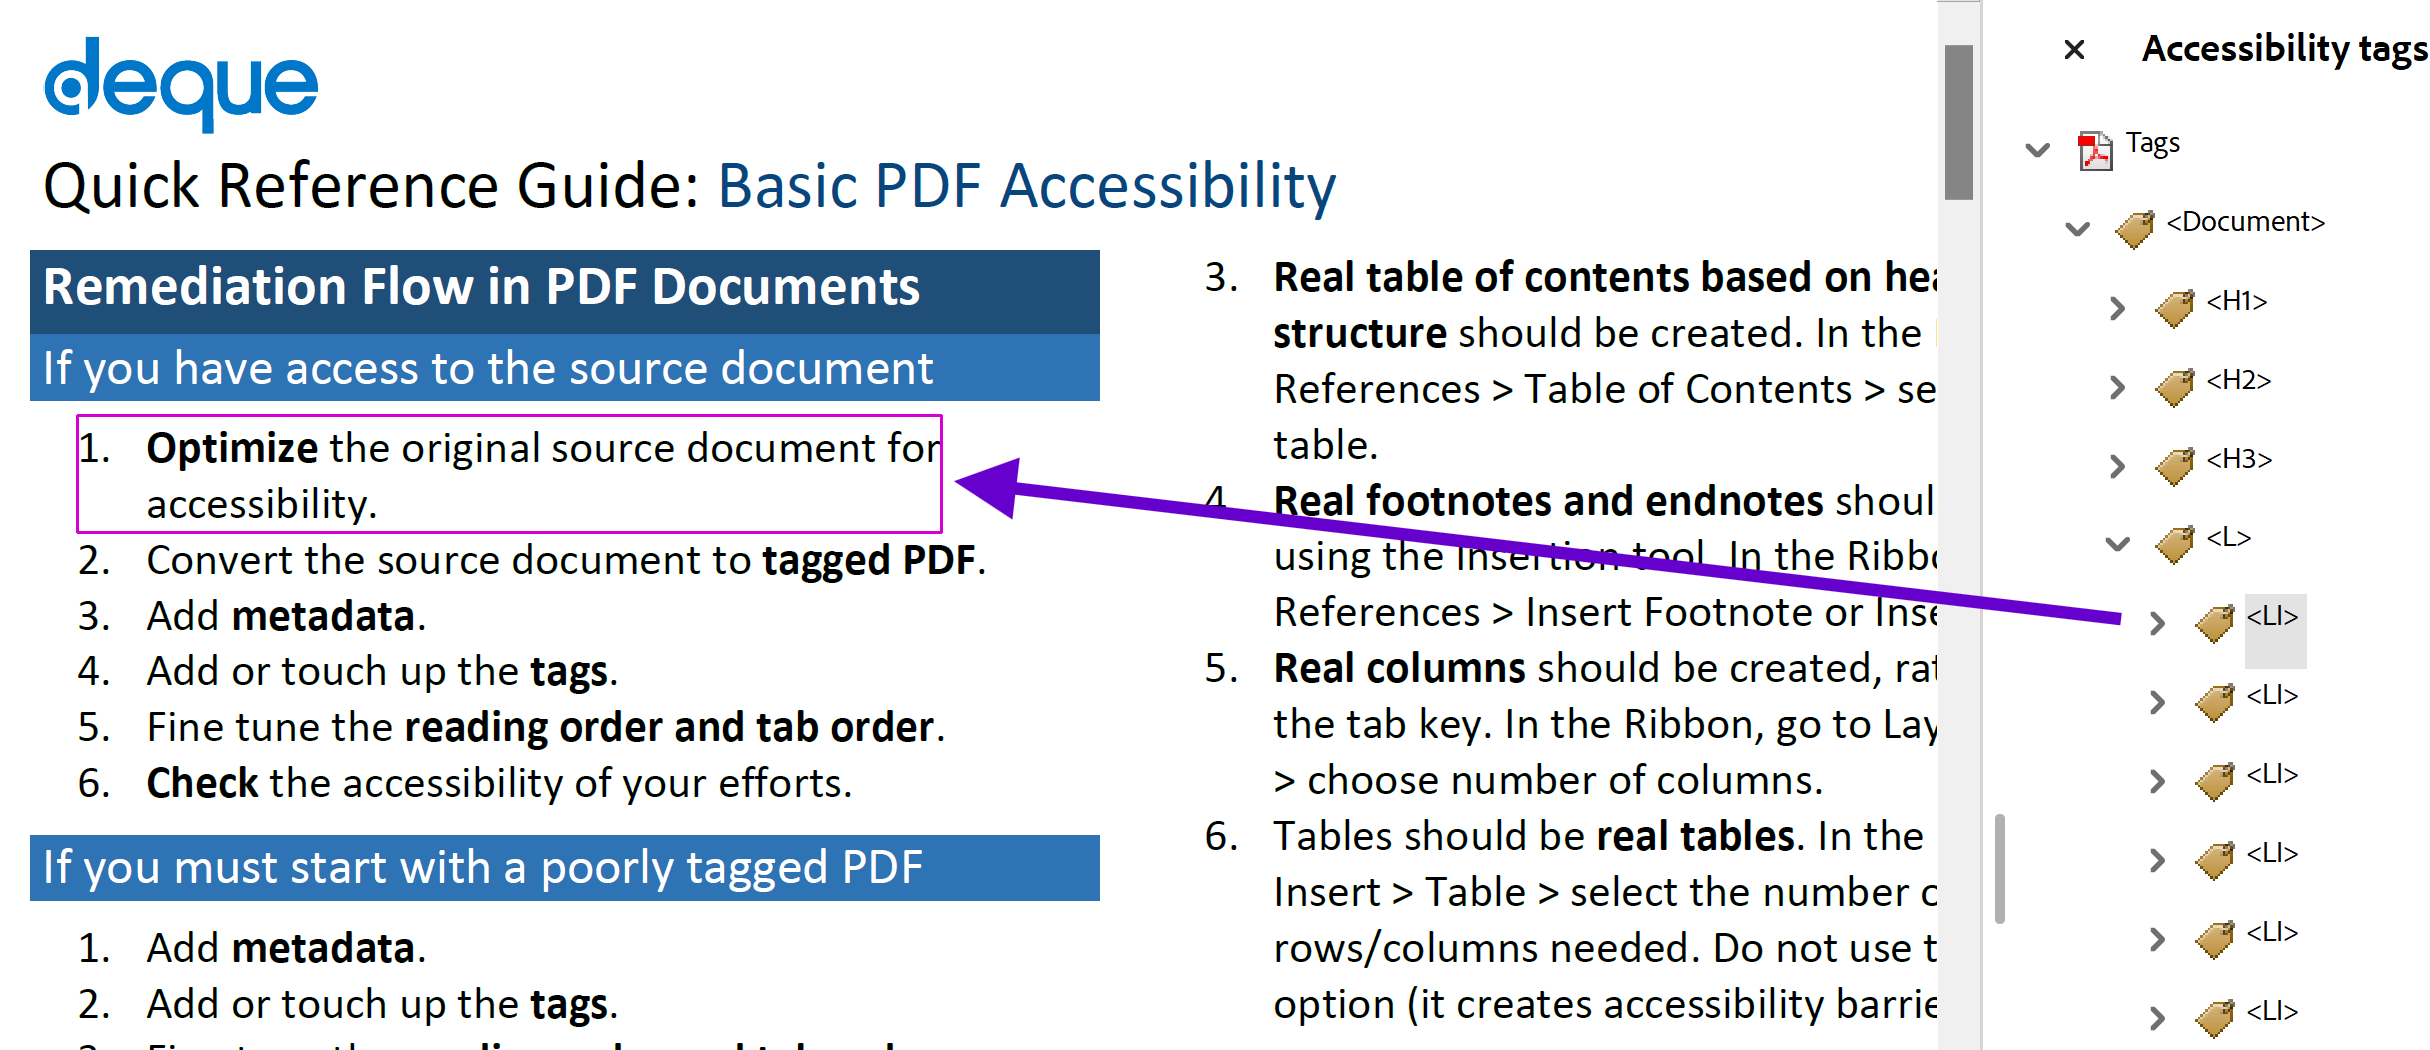
Open the tags panel and as you select each tag, it will highlight that item on the document. You need to check that they are all in the correct order and that the correct tag has been used.
If there are images in your document, these will be tagged as <figure>. You need to go into the Properties for any figure tags and check that the alt text is there and correct.
If any tags are in the wrong order, you can drag them with a mouse and move them to correct place. The aim is to ensure they read in a meaningful order. Moving the tags will not change anything that is visible on the page.
If any tags are not using the correct tag, you can change them in the Properties dialogue box.
Keyboard Shortcuts
- F6
- Moves between different sections of the Adobe Acrobat screen.
- Tab
- Moves between items in a section.
- Enter
Space - Selects an item that is in focus.
- Up/down arrows
- Move within a list of items, e.g. tags.
Summary
PDFs are one of the most difficult things to get right when it comes to accessibility. To be certain that your PDF is accessible, you need Adobe Acrobat Pro and some understanding of coding and tags.
To give yourself the best chance, your source document must be fully accessible. Then you must ensure that your convert it properly so that the PDF is tagged.
Checking and amending the tags is probably the hardest bit. You can find more specific information about this in my PDF Guidance pages.
